
How To Measure
Whether you're ordering a single piece from our collection or furnishing an entire space through Design Advisory, accurate measurements are essential. This quick guide will help ensure everything fits beautifully—without surprises.
A quick but important note
We’ll use your measurements to recommend furniture and plan layouts—but we’re not able to verify them on our end. That means:
If a measurement is off, it may affect how your furniture fits — and our return policy doesn’t cover those kinds of issues.
We highly recommend double-checking everything before you order. If you’re unsure about anything, we’re happy to guide you.
How to Measure A Room
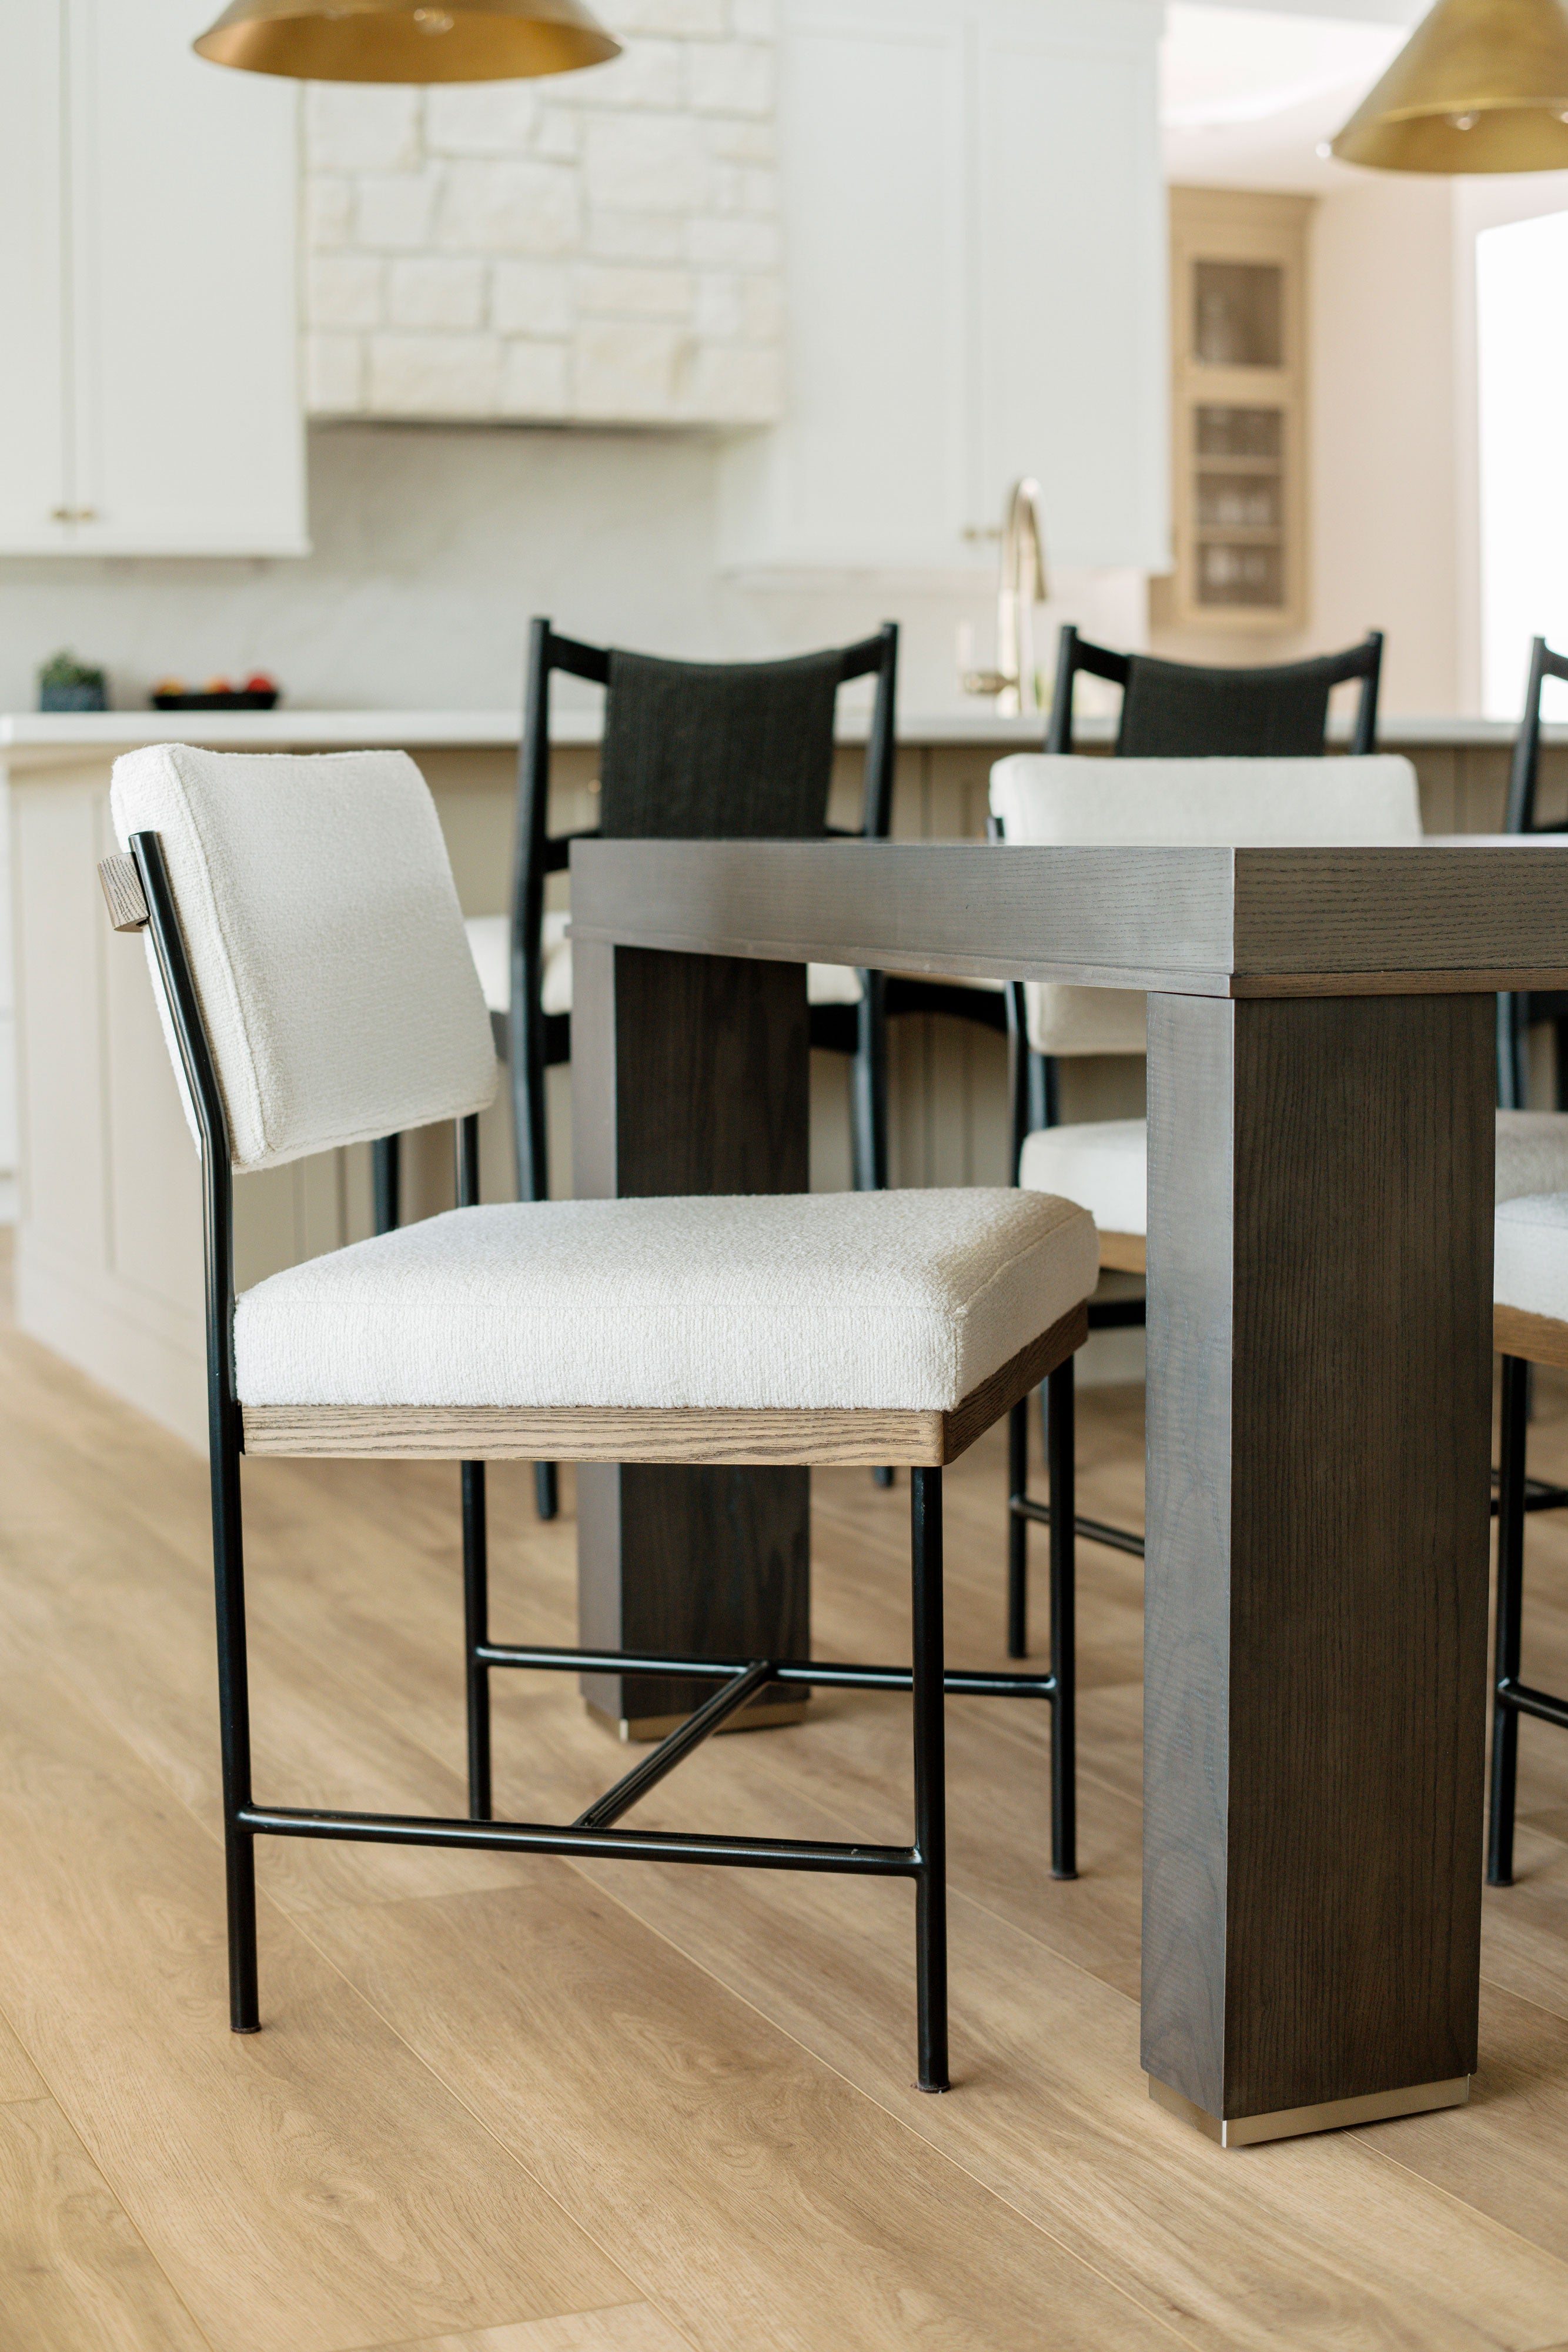
1. Start with the Room Itself
Pair text with an image to focus on your chosen product, collection, or blog post. Add details on availability, style, or even provide a review.
2. Check Entry Points
Furniture needs to get in first—measure all access points:
- Doorways – height and width
- Hallways, stairwells, and elevators – include any tight turns
- Note clearance around corners or low ceilings
3. Measure Key Features in the Room
These details help us design around existing elements:
- Windows – width, height, and height from floor
- Built-ins, fireplaces, vents, or radiators – note their placement and size
- Wall-mounted ACs or heating units – anything that affects layout
4. Don’t Skip the Small Stuff
Minor elements make a big impact on function:
- Outlets, switches, and thermostats – measure placement
- These details help avoid blocking important utilities
Labeling Measurements for your Designer
Clear notes help our team turn your measurements into beautiful, functional spaces.
Use Feet-Inches or Inches—Not Both
Either is great, just stay consistent:
How to Label the Walls in Your Room
Skip north/south confusion. Use this consistent method:
Start at the Entry:
Stand in the main doorway facing into the room. This is Wall A.
Label Clockwise:
- Wall A – The wall with the entry door
- Wall B – Wall to the right
- Wall C – Opposite Wall A
- Wall D – Wall to the left
Example Notes:
- Wall A (entry door) – 12’4”, 9’0” ceilings
- Wall B (windows) – 10’2”, window is 6’0” wide, 2’6” from floor
- Wall C (TV wall) – 11’0”, no obstructions
- Wall D – 10’5”, open to kitchen
What to Include in Your Notes:
You don’t need a sketch—just include:
- Window sizes and placements
- Doorways to other rooms
- Built-ins, radiators, or anything permanent
- Furniture that’s staying
Add quick notes if something’s unusual:
- "Radiator sticks out 6” from Wall B”
- “Ceilings slope slightly above the windows”
- “Crown molding is 4” deep”