
Photo Guide
How to Take Great Photos
The right photos help our design team understand the layout, lighting, and existing elements in your home — from flooring and ceiling details to colors and furniture you may want to keep. This quick guide will walk you through how to take helpful, high-quality room photos using just your phone.

1. Tidy Up
Remove everyday clutter so we can get a true sense of your space. No need to deep clean — just clear off countertops, floors, and surfaces so the architecture and furnishings are easy to see.

2. Use Natural Light
Natural light helps us see colors and finishes more accurately.
- Open curtains and blinds
- Turn off overhead lights and avoid using flash
- Midday is best for avoiding harsh light or shadows. If your room doesn’t get much sunlight, do your best — we’ll work with what we can see.
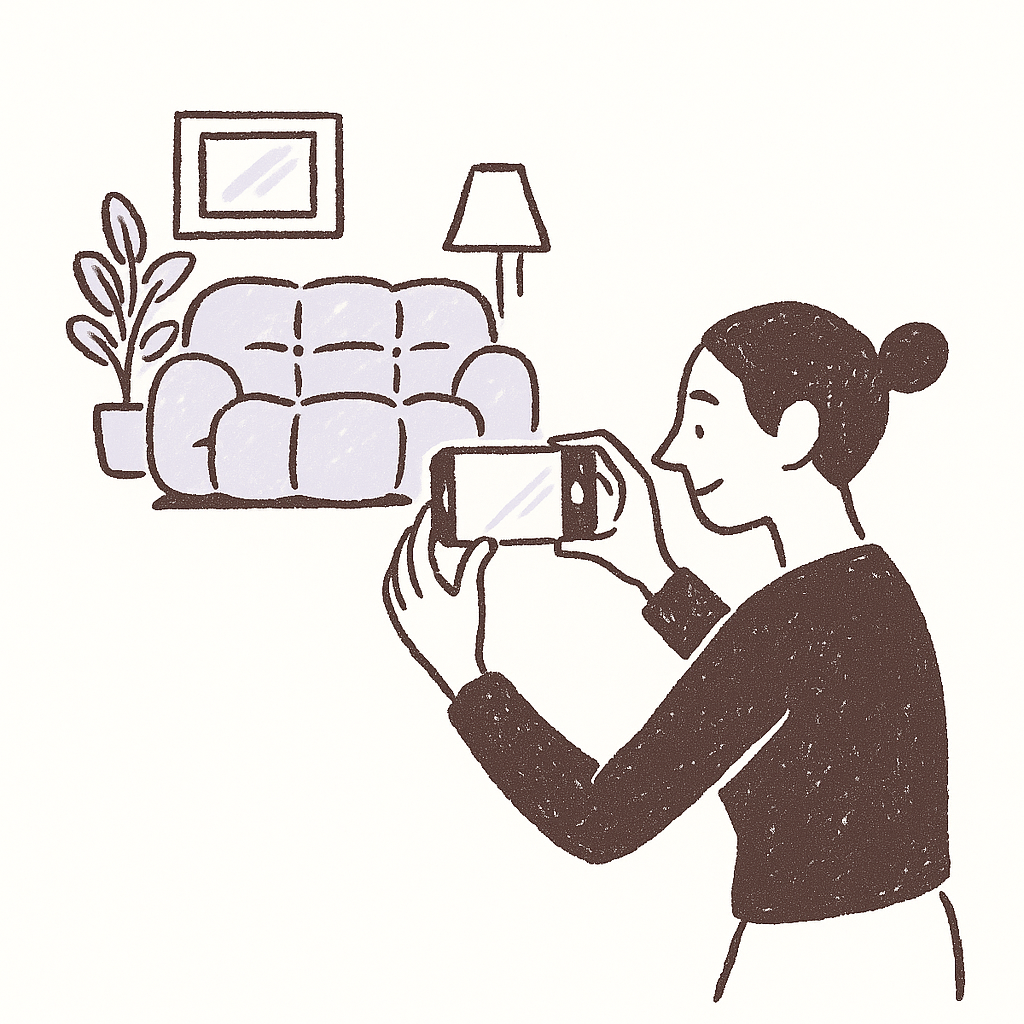
3. Capture the Whole Room
Stand in each corner of the room and take a photo facing diagonally across to the opposite side.
- Be sure each photo includes both floor and ceiling
- Take one photo from the doorway looking in as well

4. Straight-On Wall Photos
For each wall, take a photo standing directly in front of it. These “elevation-style” shots help us understand wall lengths, ceiling heights, and architectural elements.

5. Highlight Key Features
Take close-up or zoomed-out photos of anything you'd like us to note — including:
- Built-ins or fireplace details
- Lighting fixtures or ceiling fans
- Flooring transitions
- Furniture, rugs, or decor you’re keeping